Bathroom DIY, one step at a time. Twenty years tiling Melbourne’s old houses. This fortnight’s project:
Tiling a bathroom wall in one corner
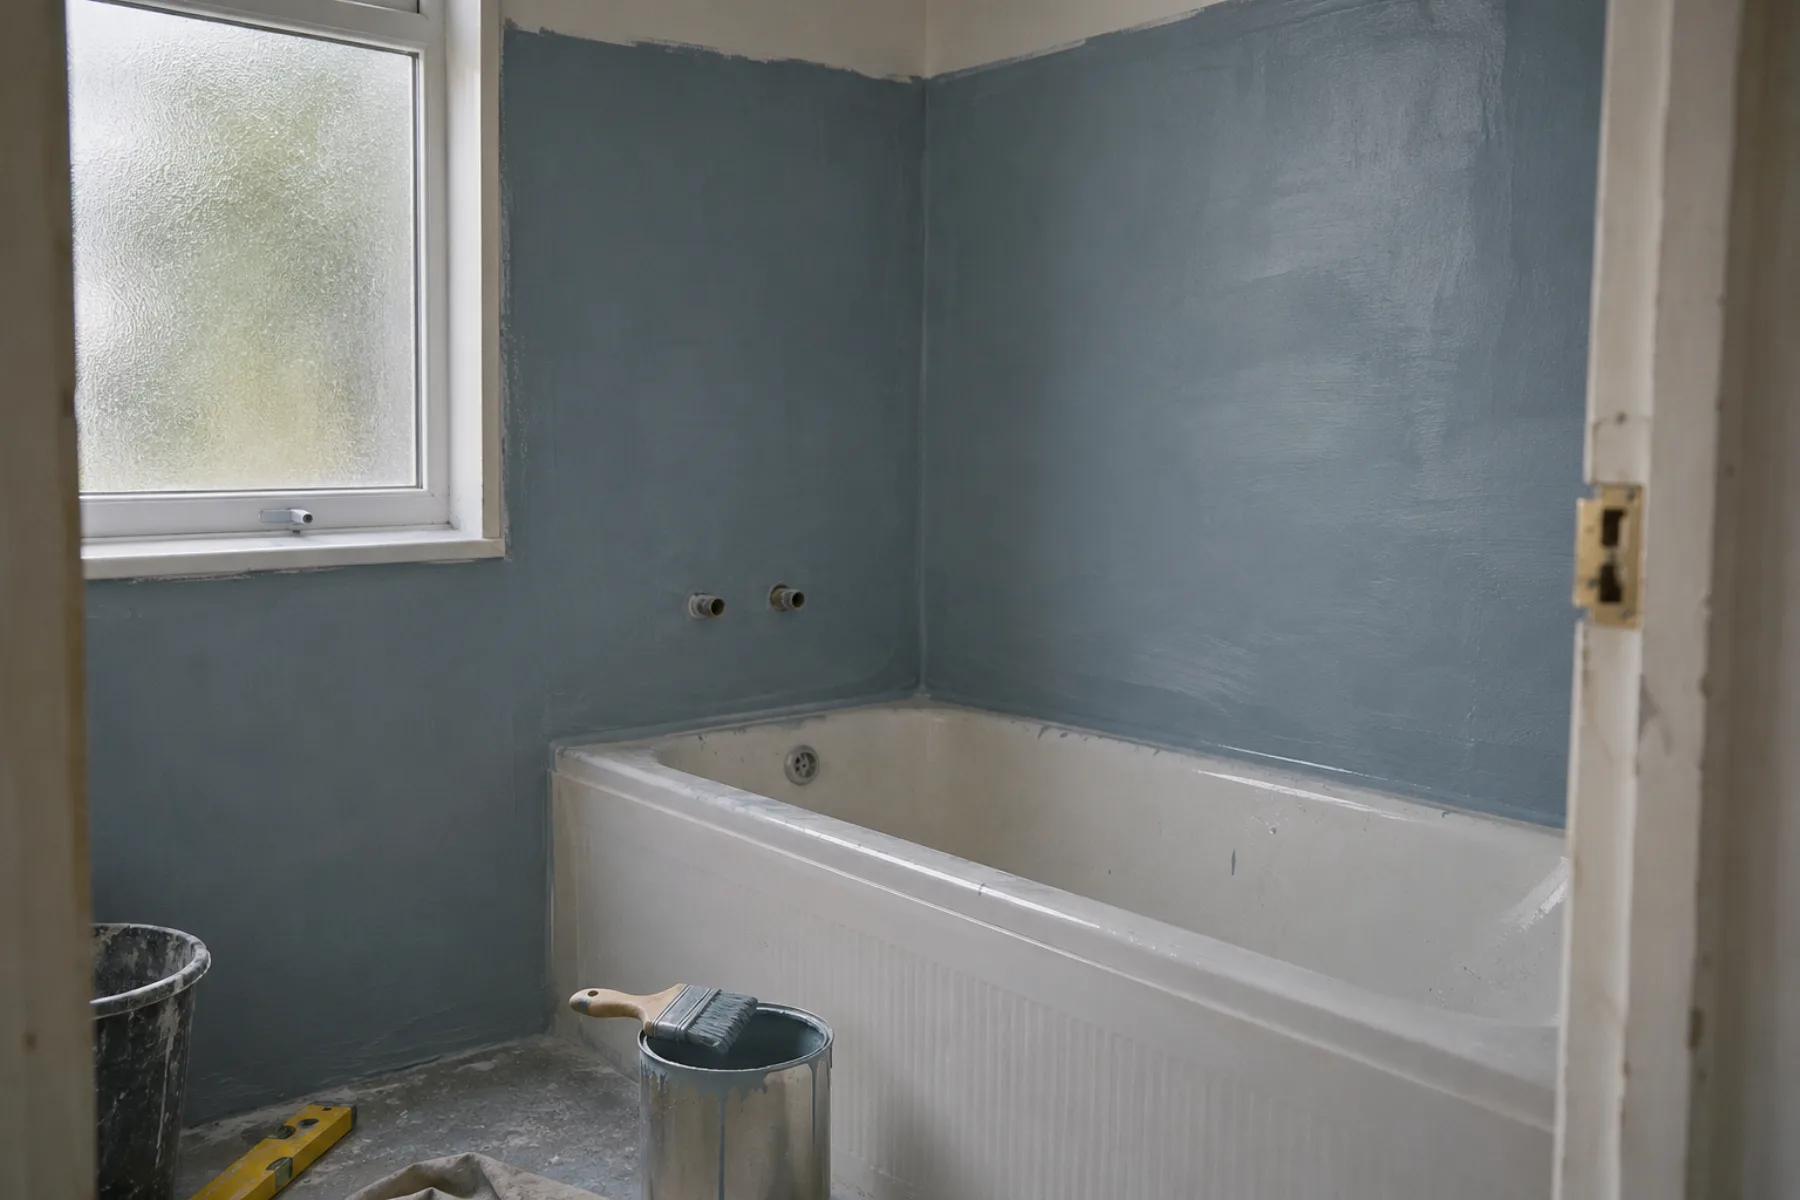
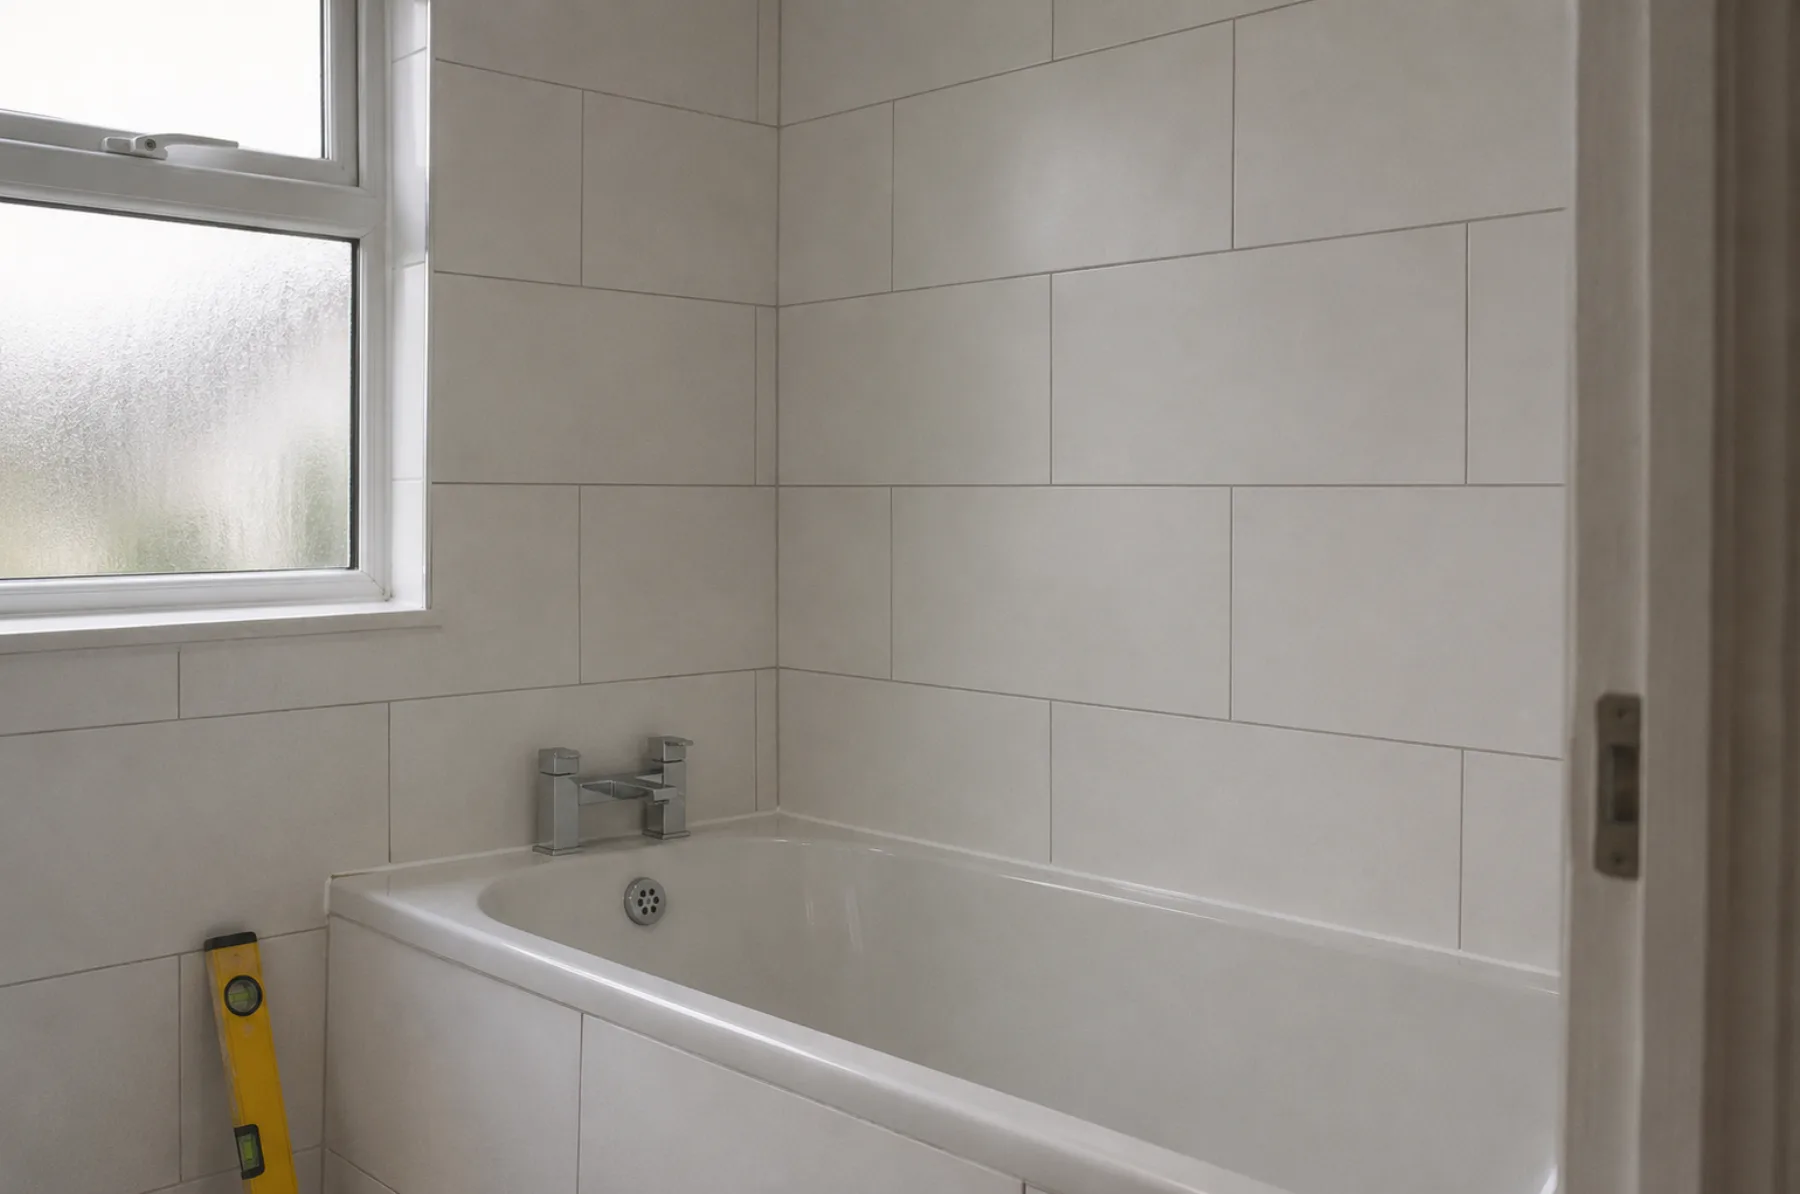
Before step 04
Have these within reach
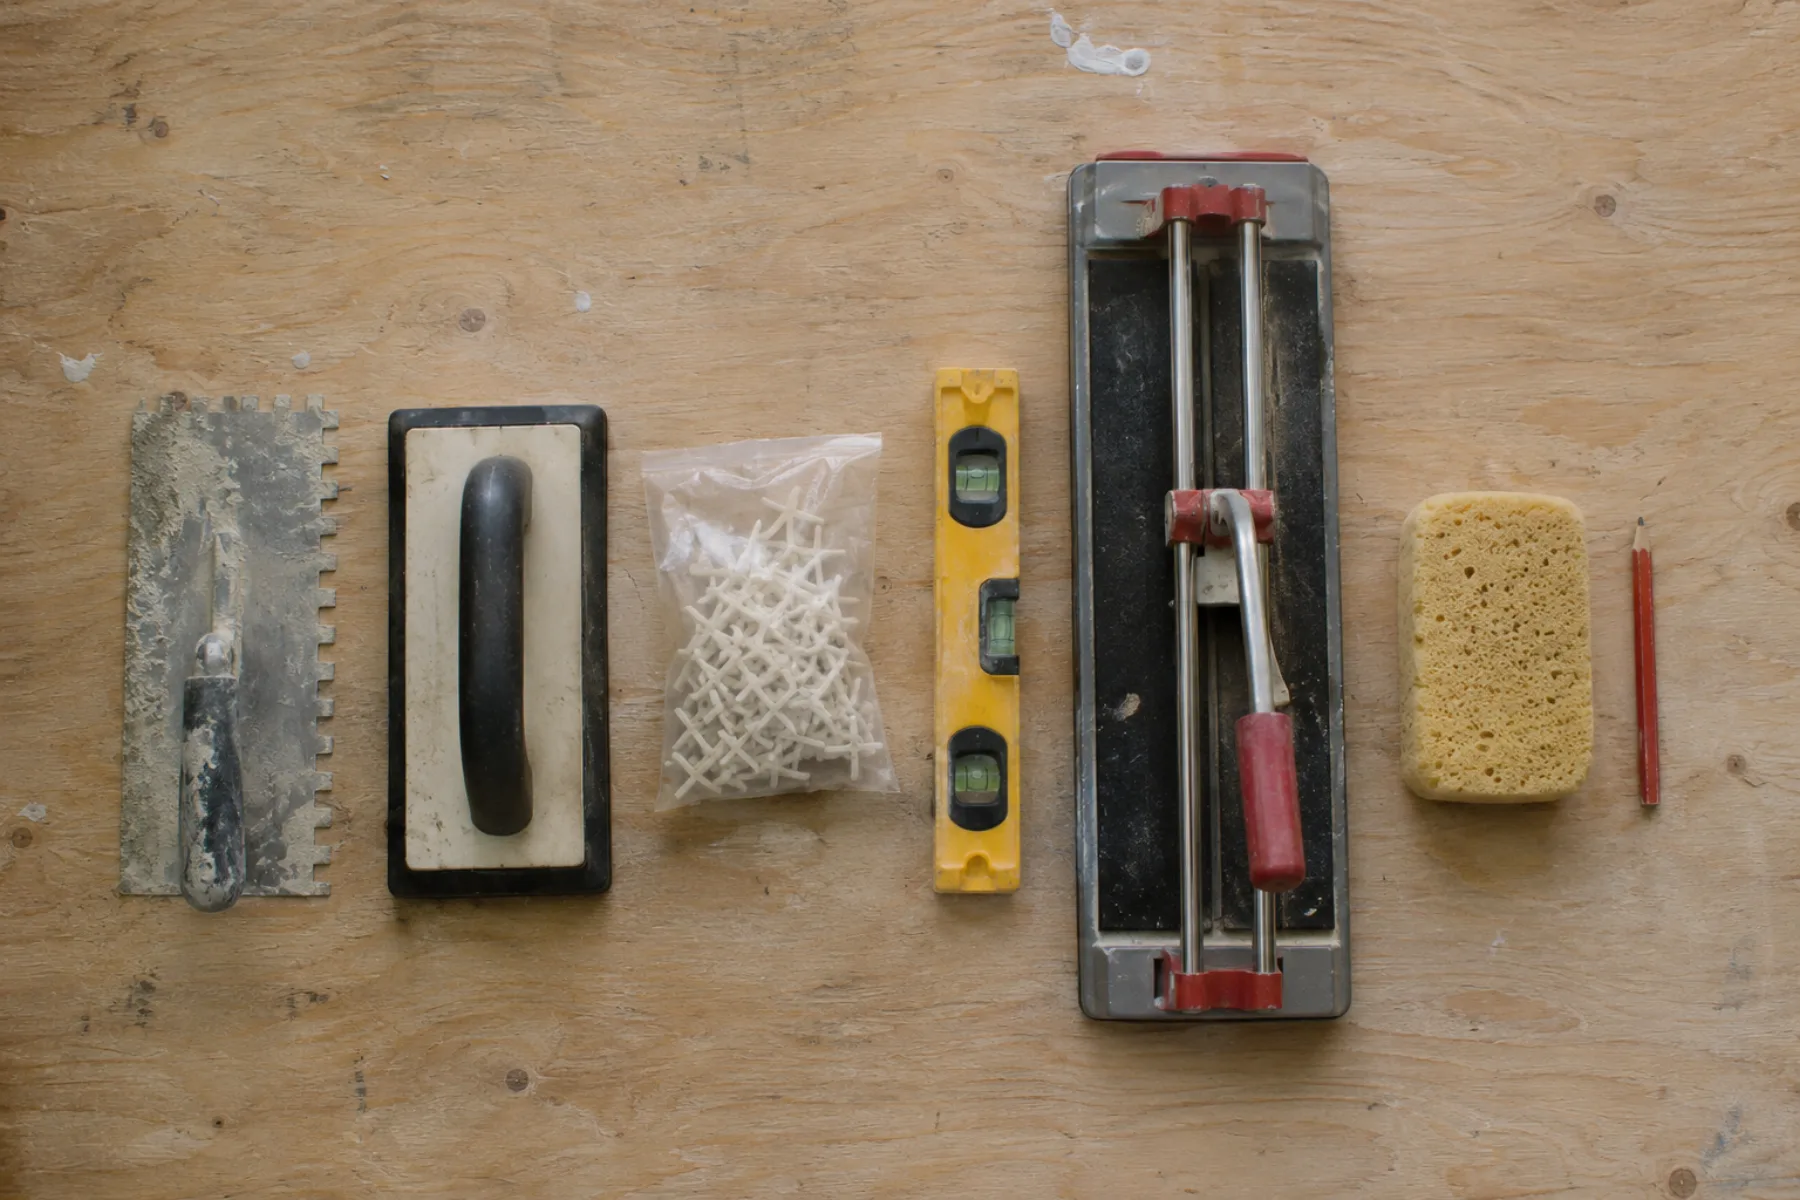
Notched trowel, rubber float, spacers, a short level, the cutter and a sponge. Adhesive goes off fast, so lay it all out first.
- Step 4 of 612:45
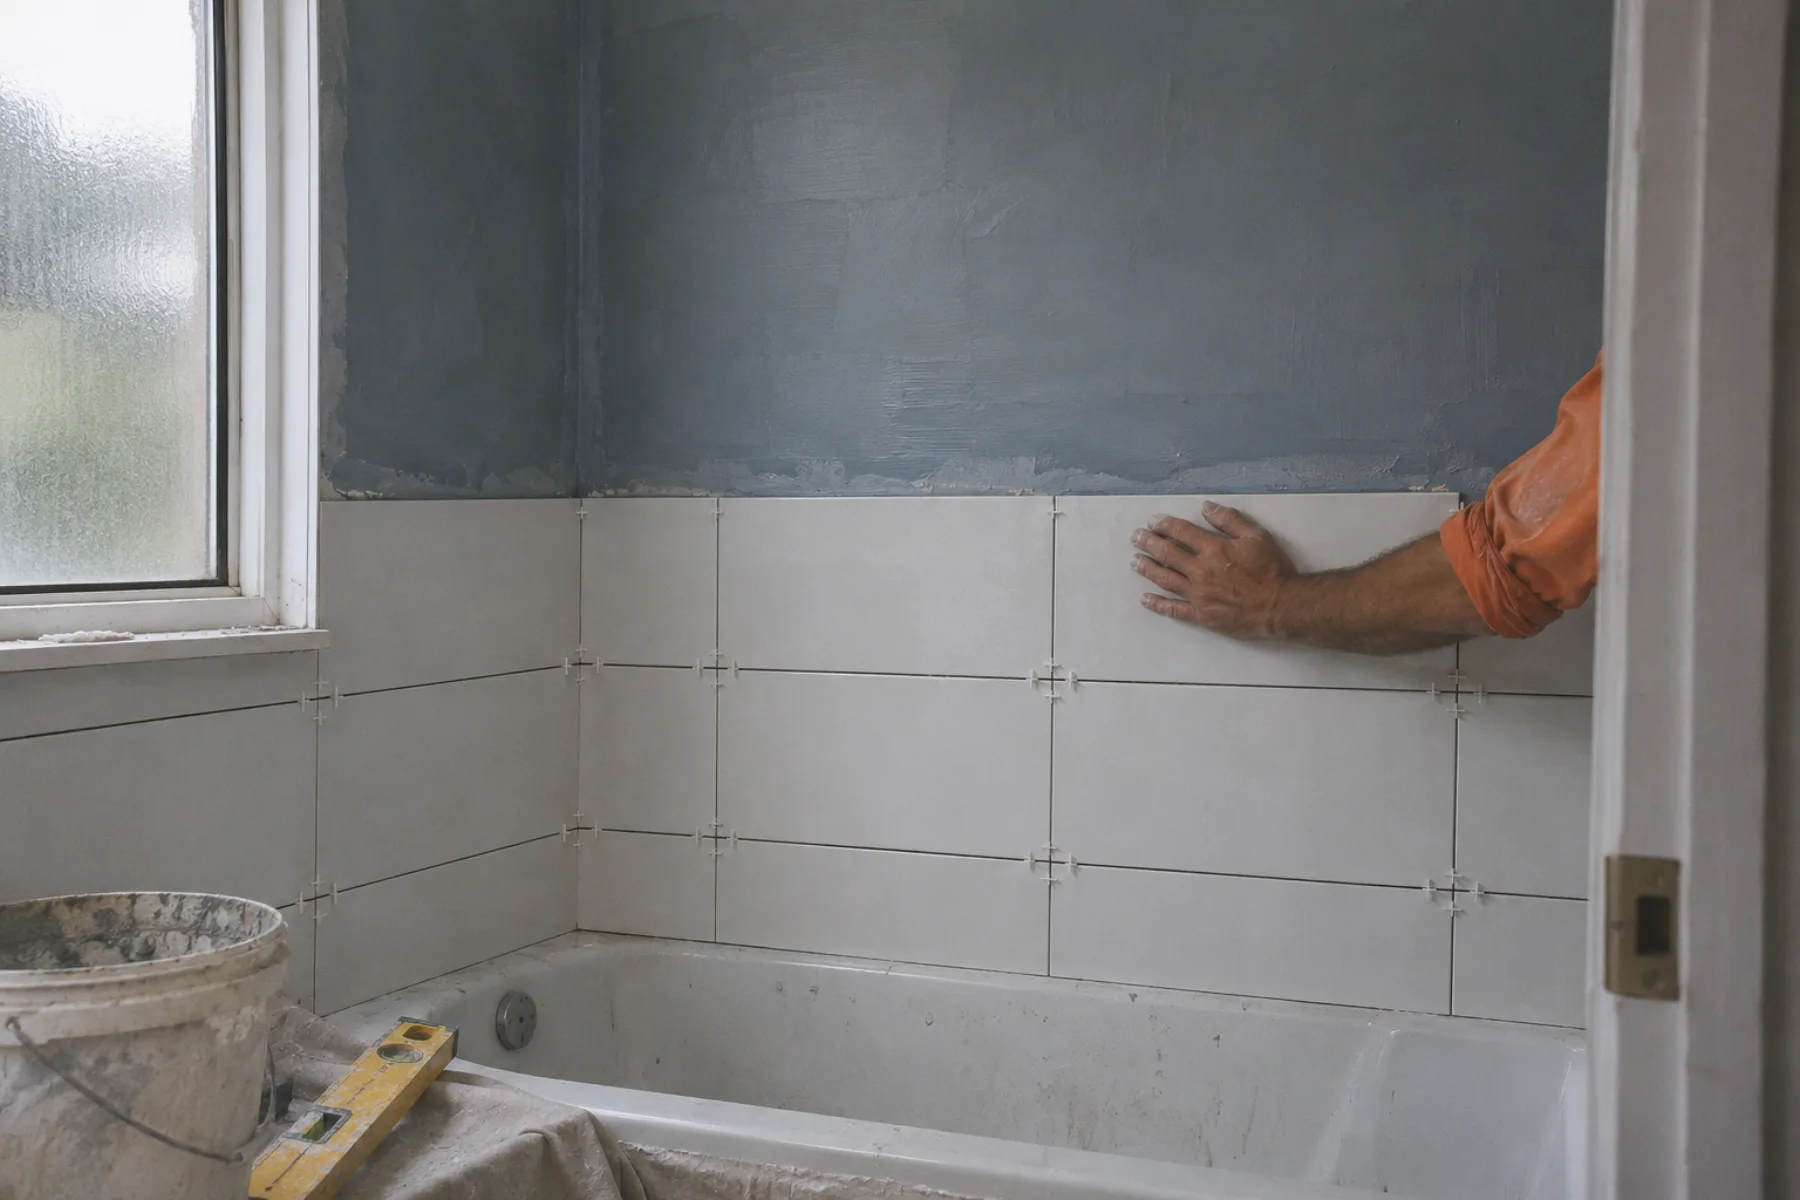
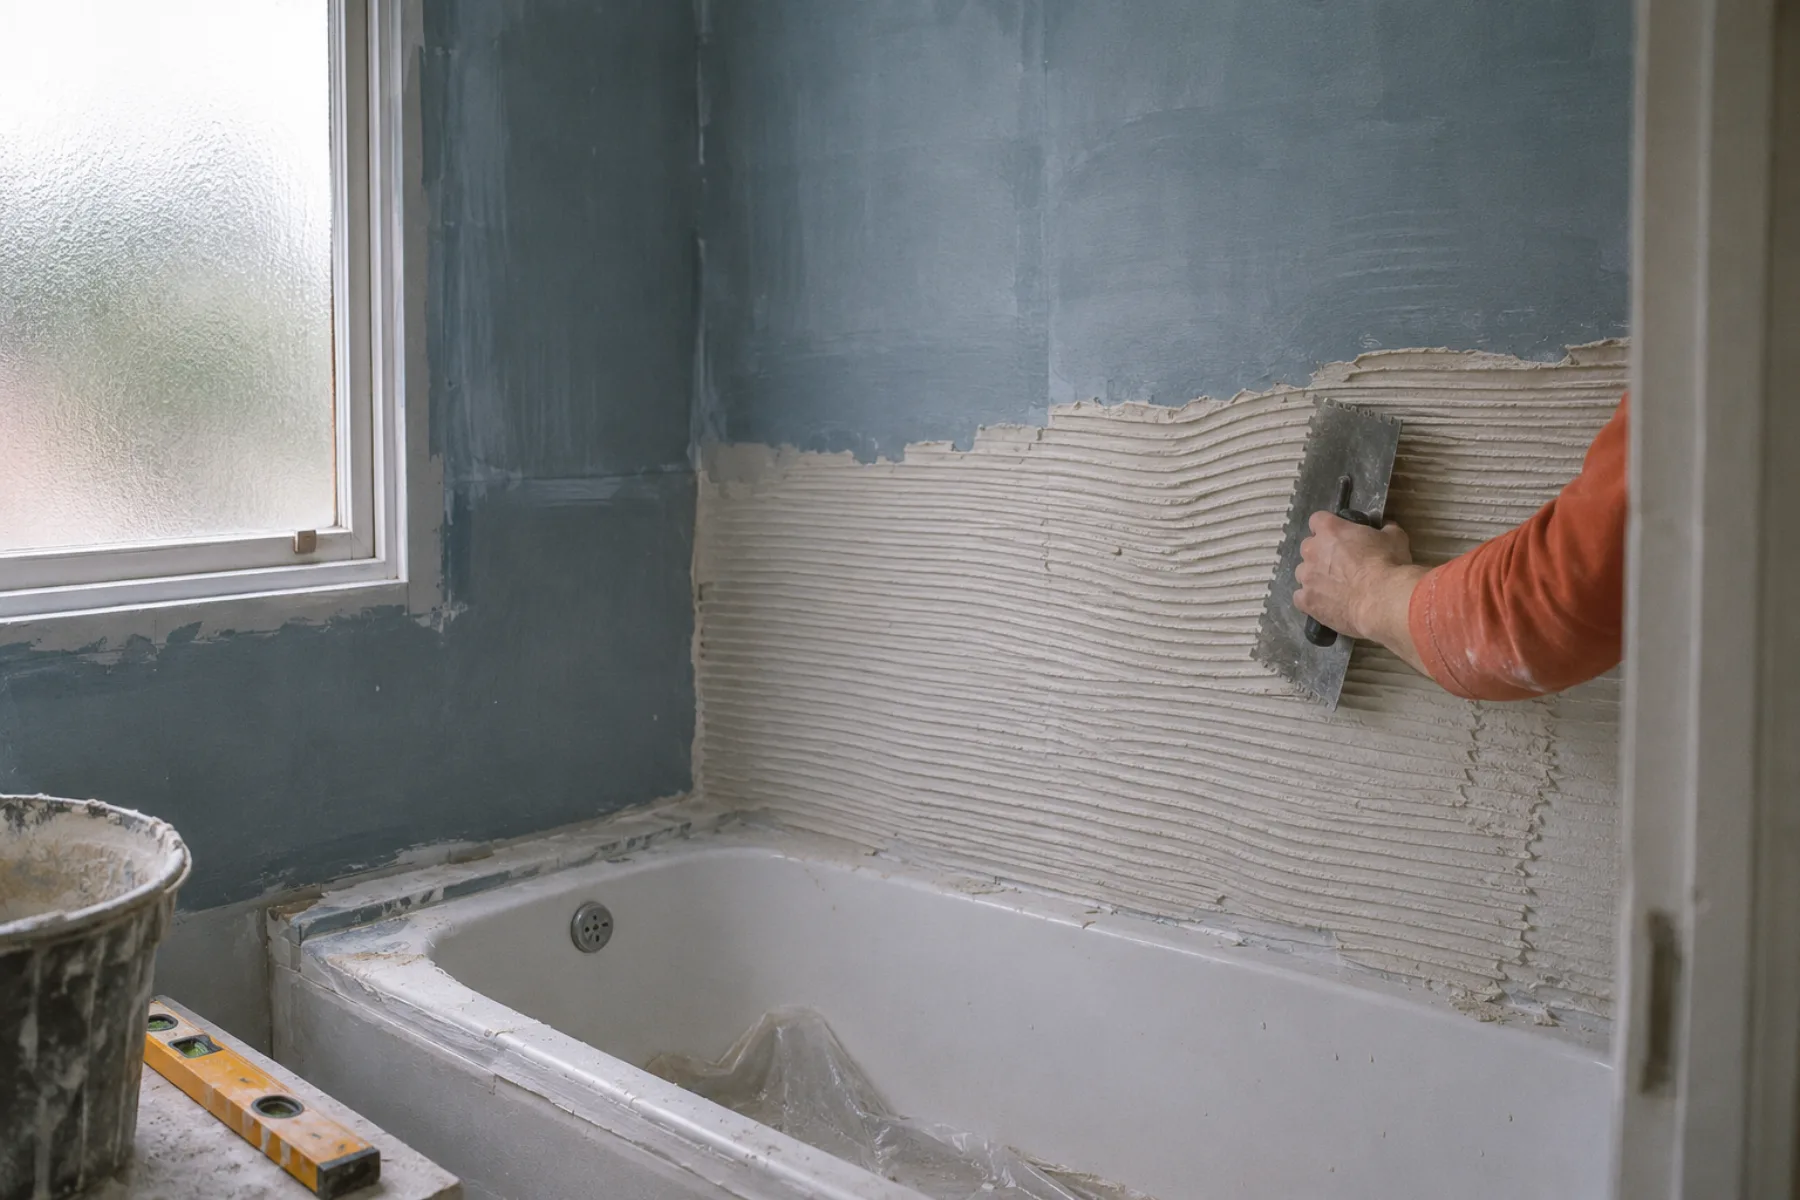
Press the tiles in with a spacer at every joint.
- Step 5 of 619:20
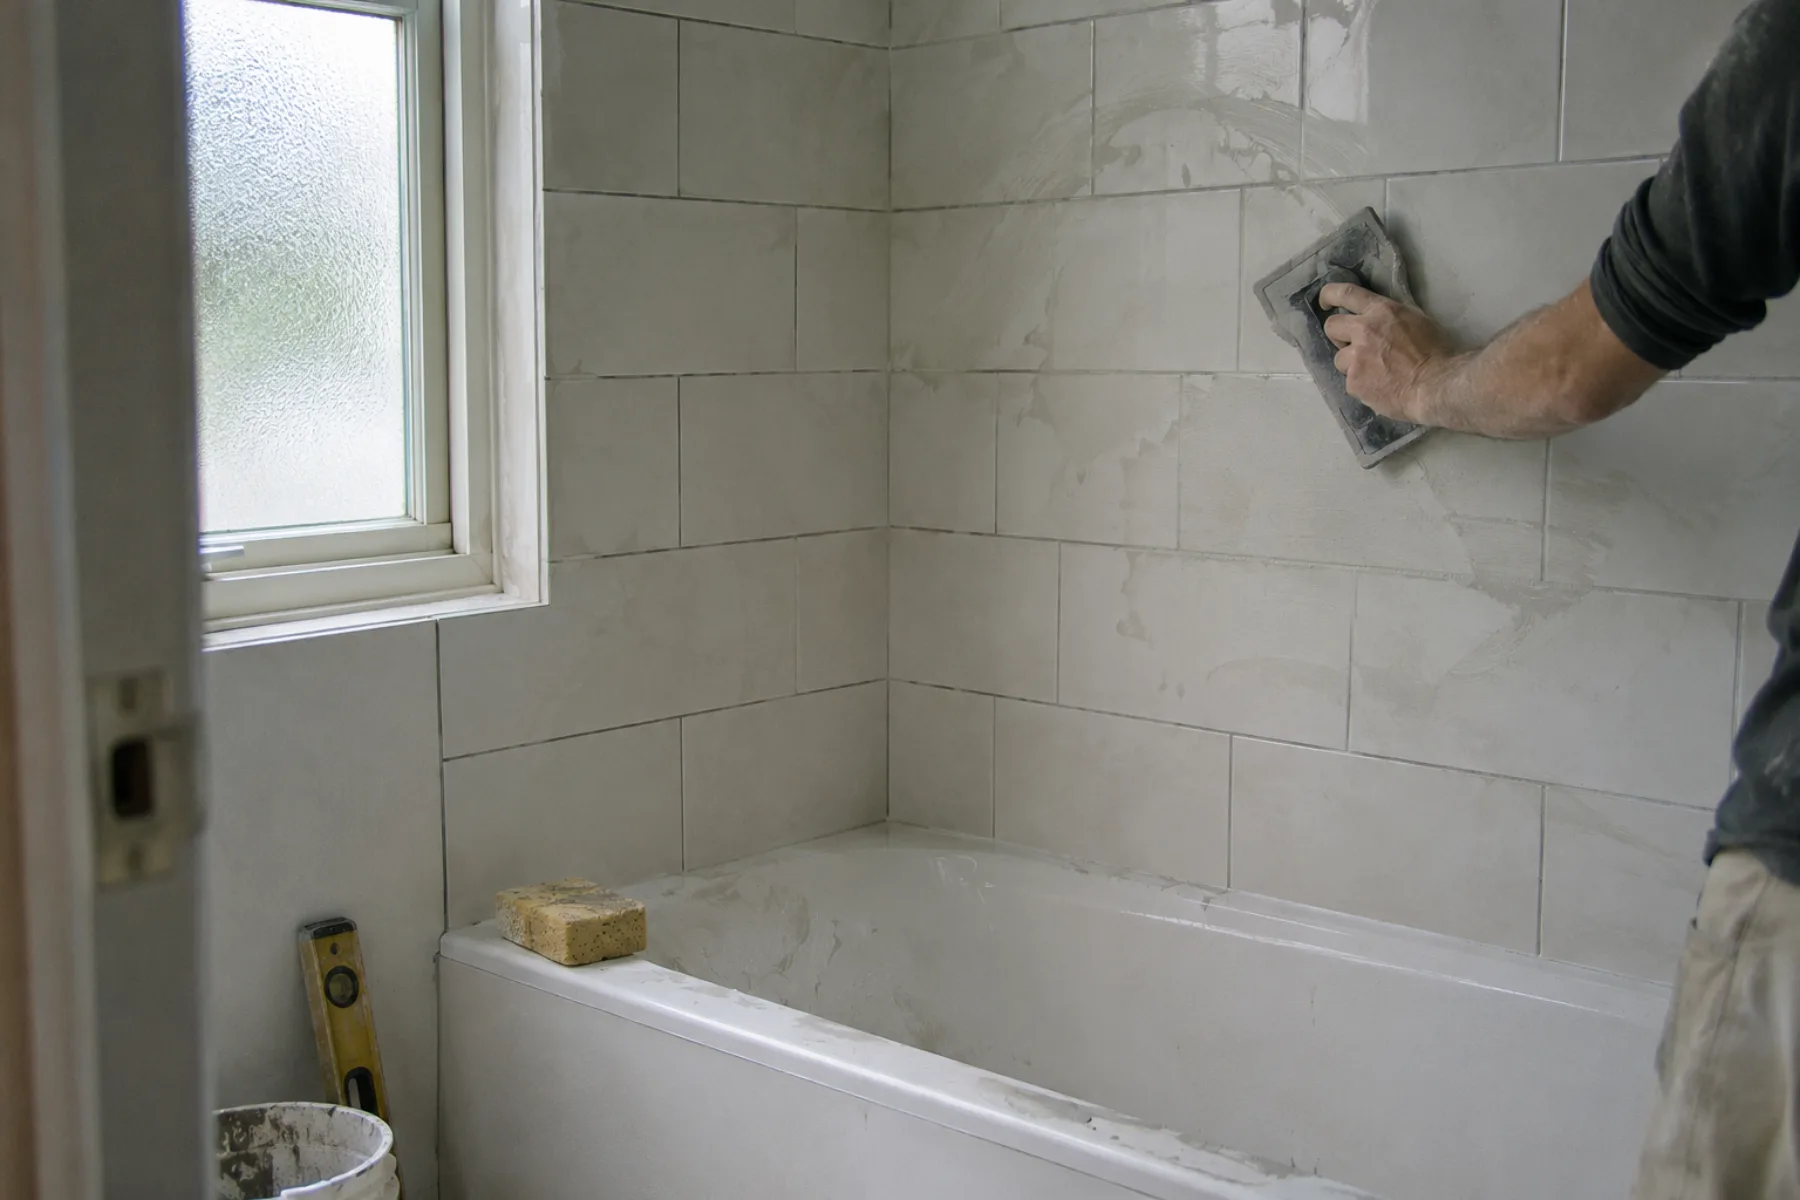
Push the grout across the joints with a float.
- Step 6 of 624:05
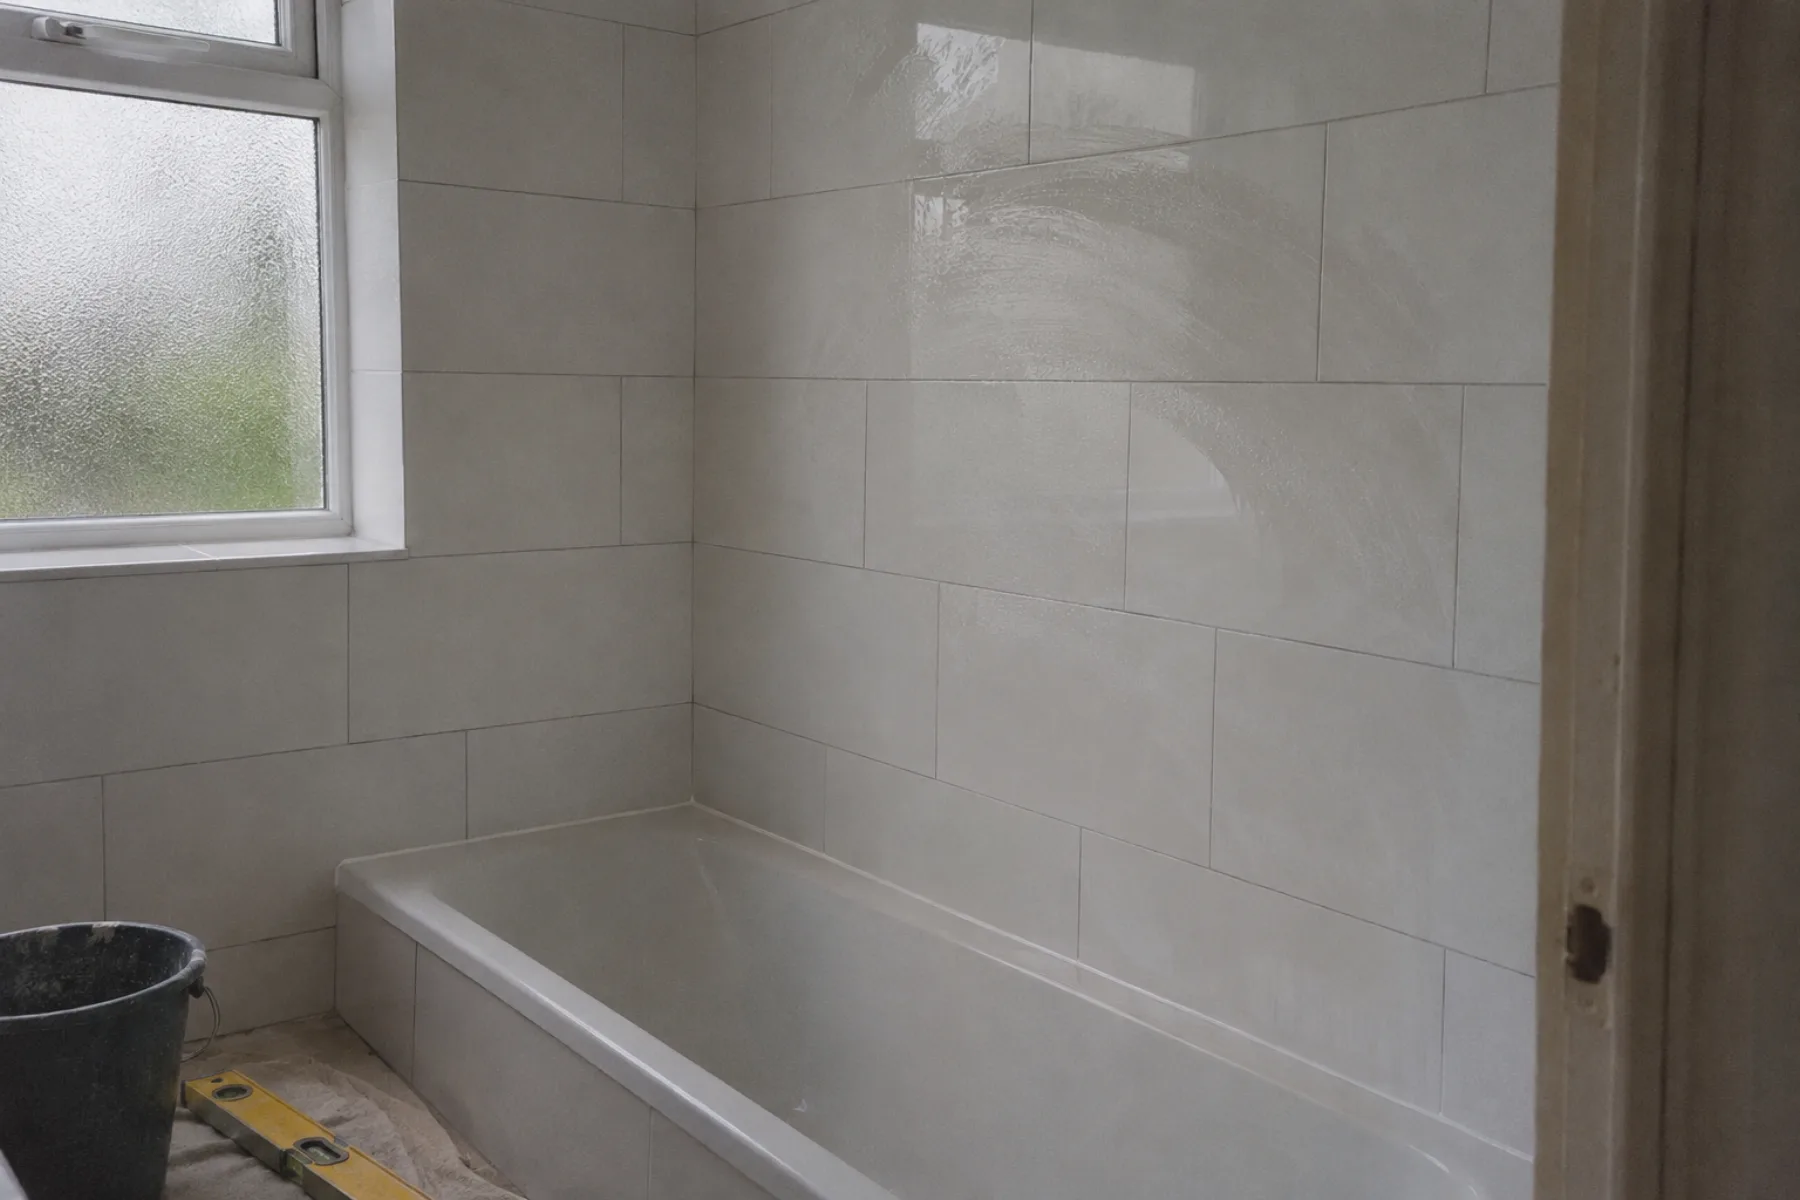
Wipe it down and seal the edge of the tub.
Done
The same corner the next morning: grout dry, silicone cured, ready for a shower.
Free, sent when you sign up
The bathroom wall plan
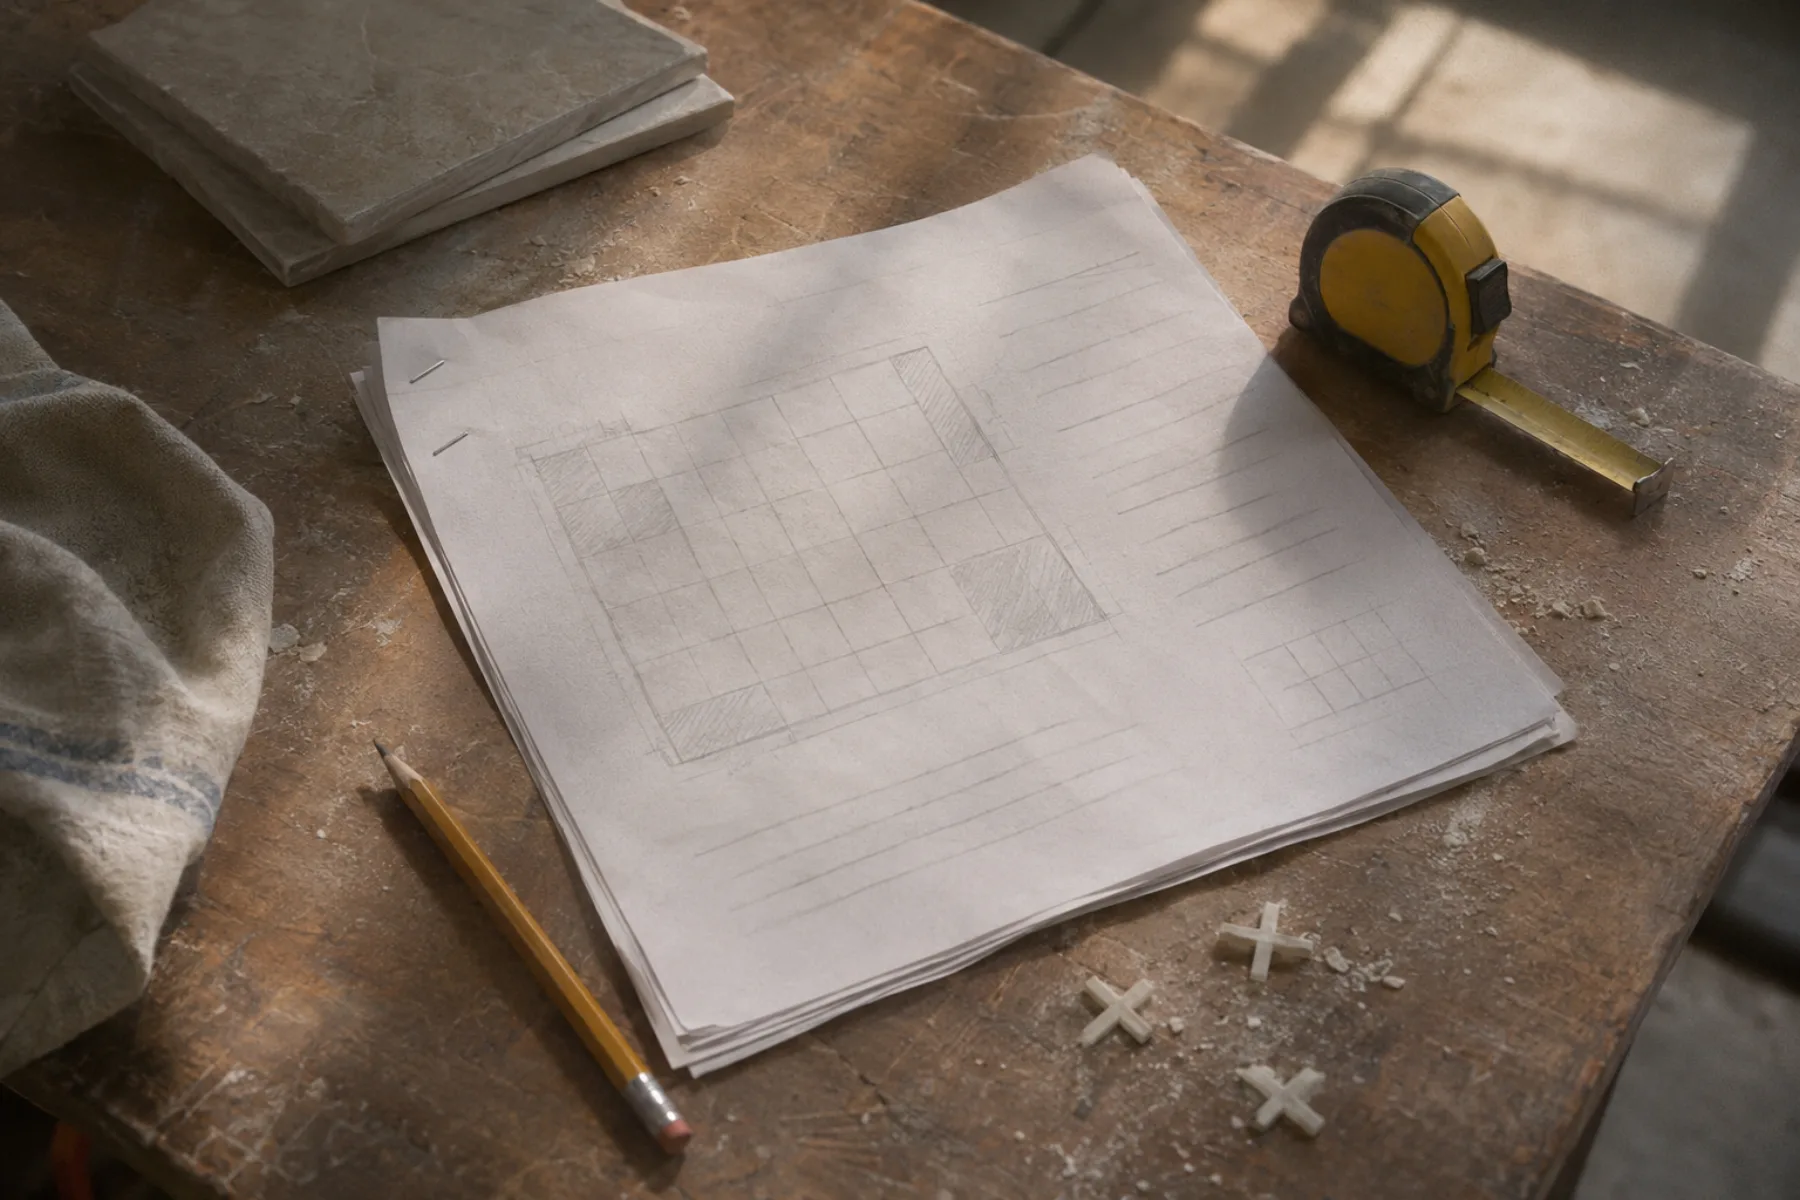
My printable plan for tiling one wall: the tools, how to work out your tile count, and all six steps with a drawing of each row. Tape it to the door and tick it off as you go.
More plans, and a tee
The plans I hand to mates before a weekend job, ready to print.


More projects
Each one filmed on a real job, start to finish. The lessons are free on YouTube.
- 04steps
Waterproofing before you tile
Where the membrane goes and how long to leave it.Watch, 14 min - 03steps
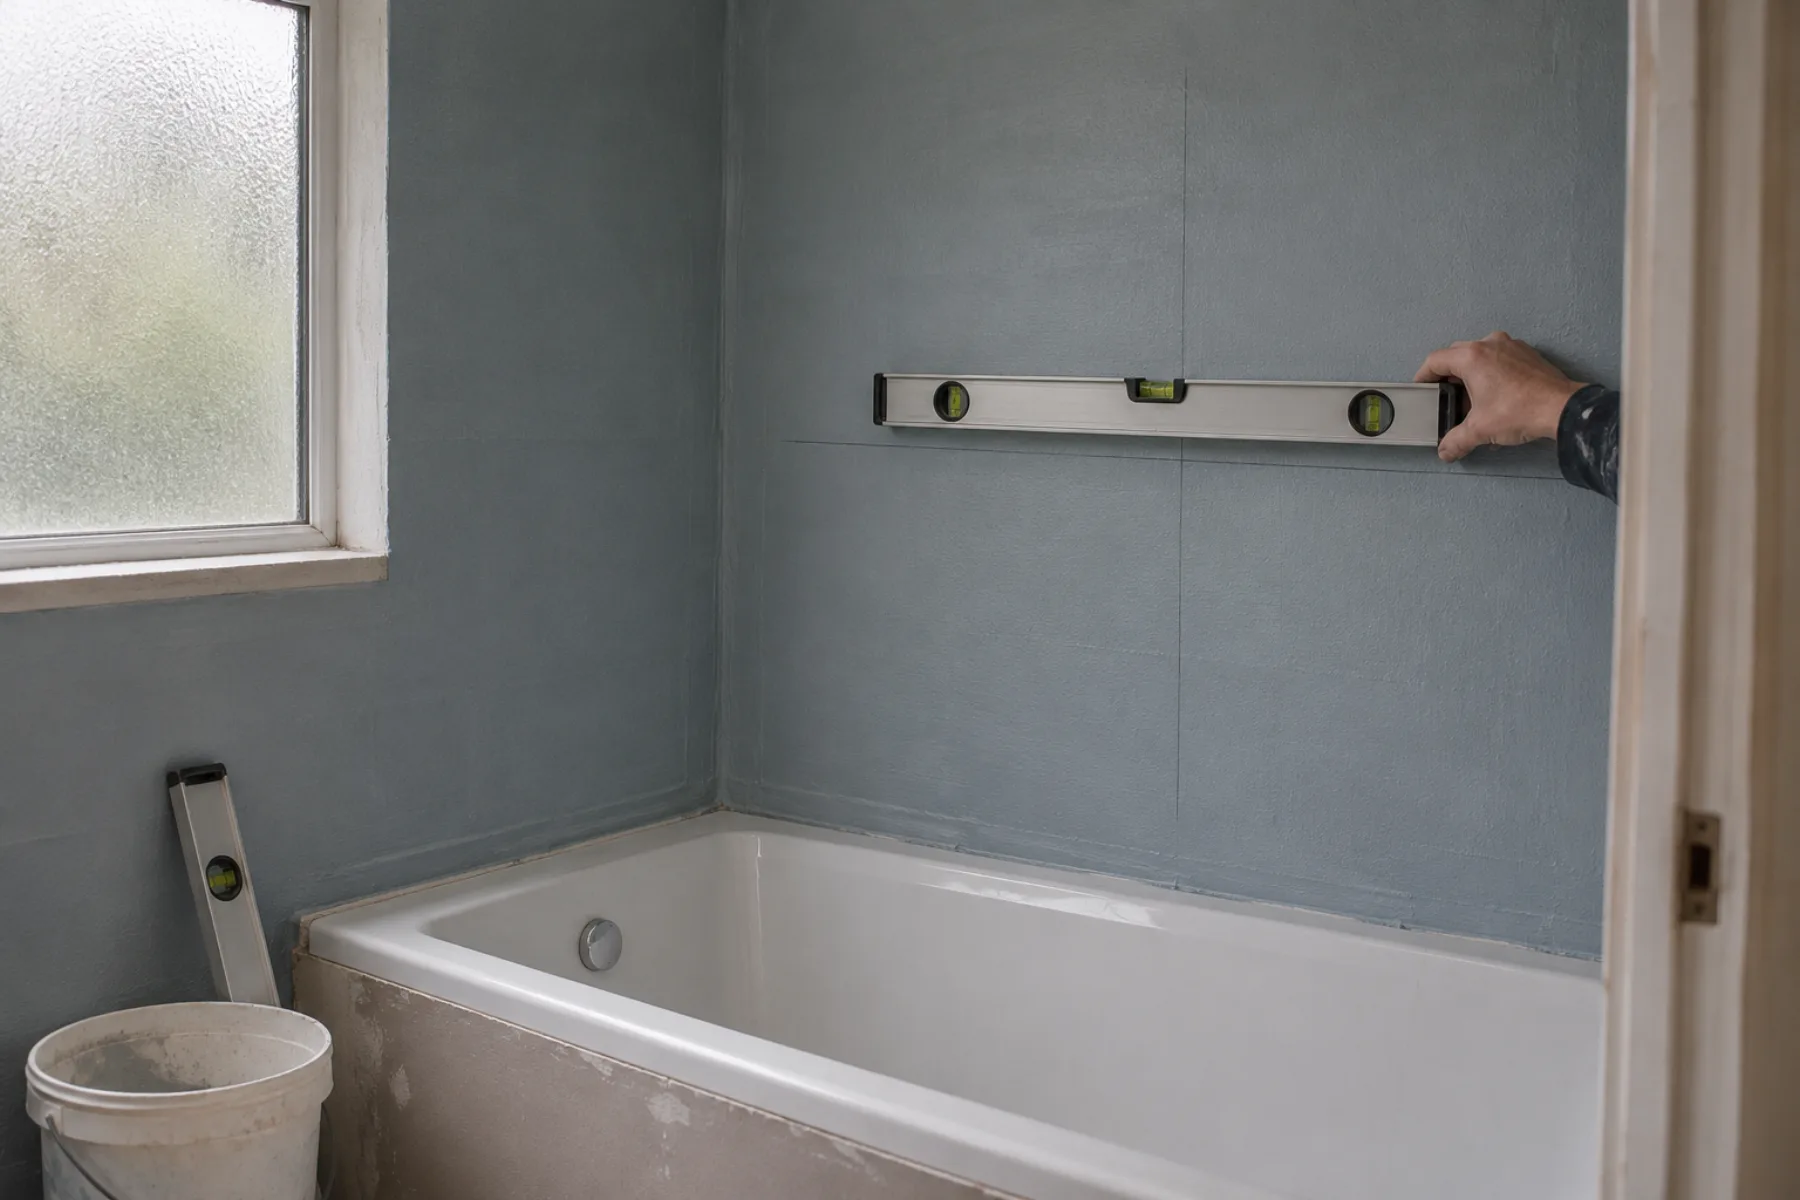
Setting out so the last tile looks right
Find your centre line and level the first row.Watch, 11 min - 05steps
Tiling round a pipe
Mark, drill and fit the awkward tiles without breaking them.Watch, 13 min - 04steps
Grout that stays clean
Mixing, floating and wiping in the right order.Watch, 12 min
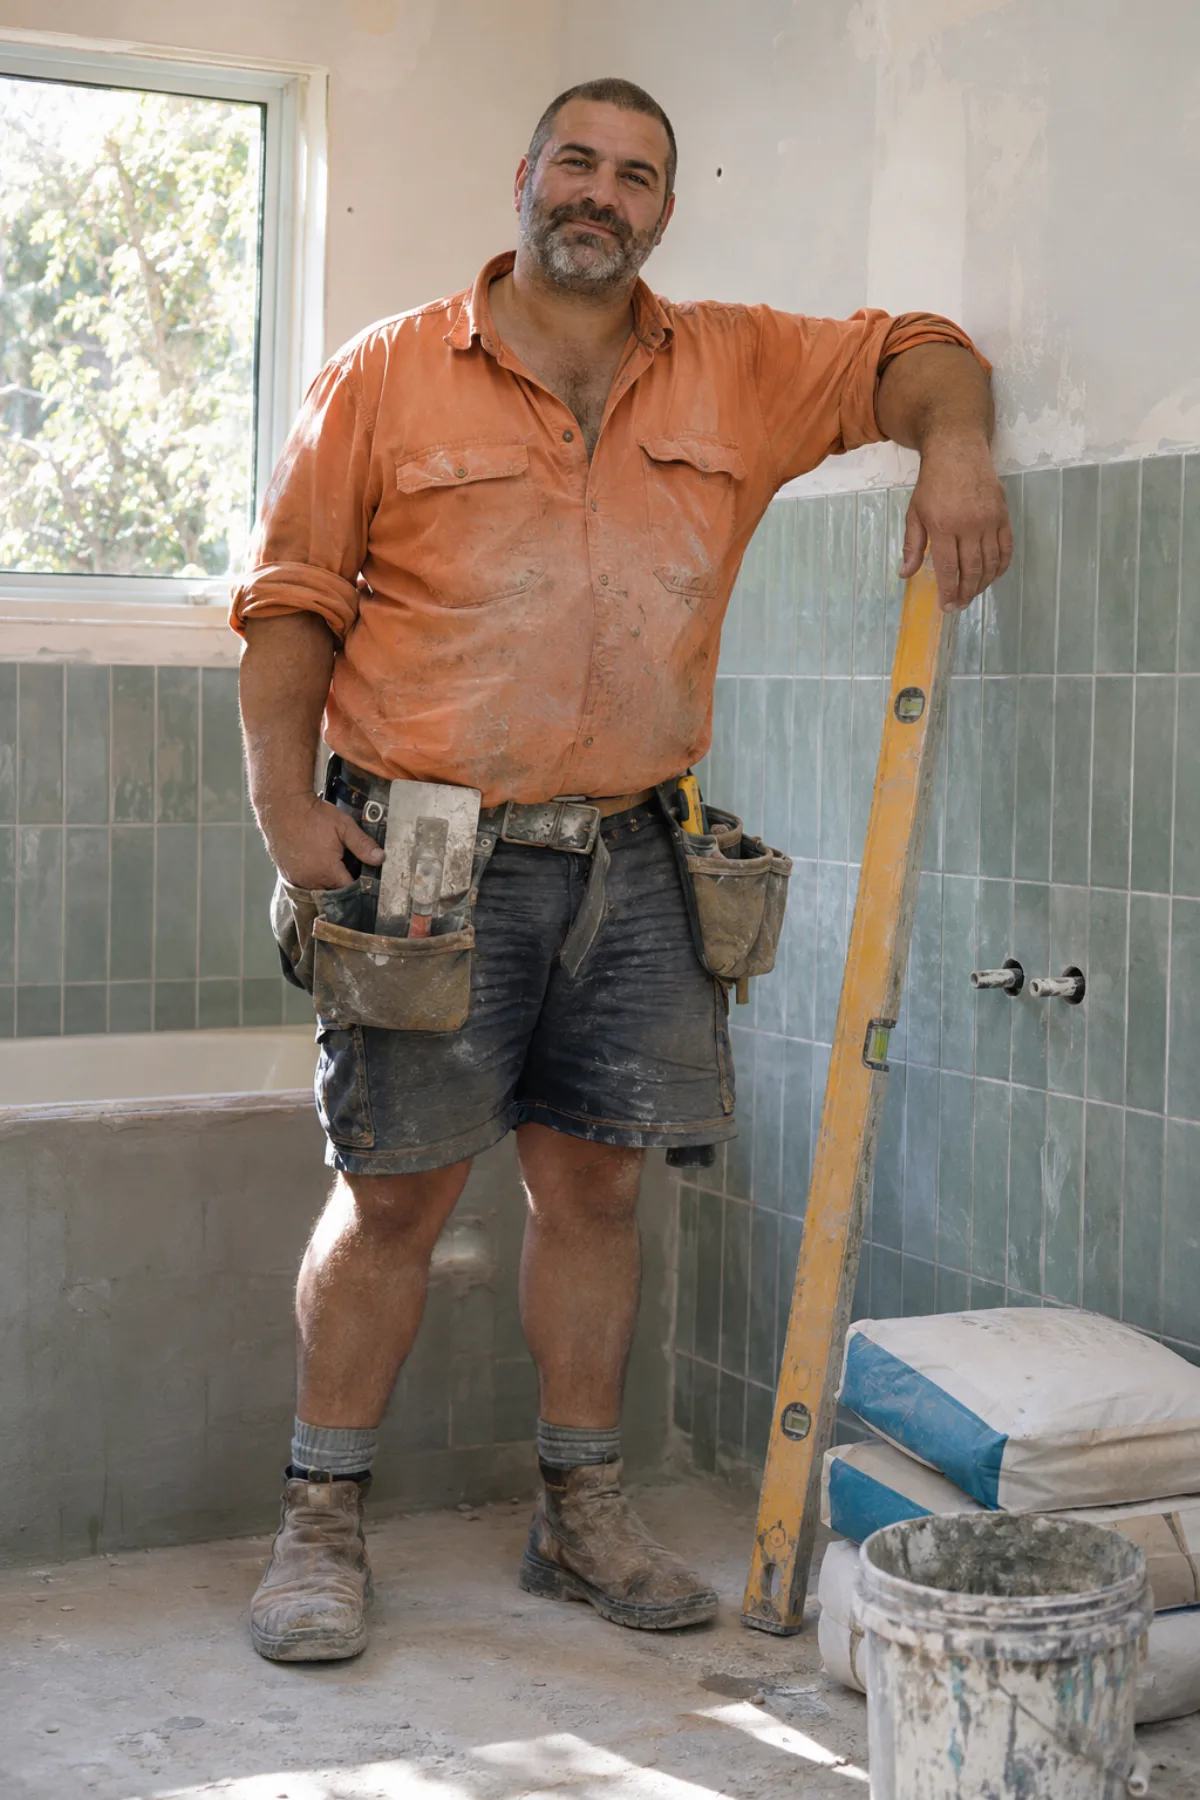
G’day, I’m Kosta
I’ve tiled bathrooms in Melbourne’s older houses for twenty years: weatherboards in Northcote, terraces in Brunswick, a lot of walls that were never straight to begin with.
These days I film each job as numbered steps, one corner at a time, so you can do it yourself on a weekend. Nothing is skipped, including the bits I get wrong.
A new project goes up every fortnight.
— Kosta
Questions
What people ask me under the videos most.
Can a first-timer really do this?
If you can use a level and take your time, yes. Start with one wall, not a whole room, and give yourself the full weekend.
Do the lessons cost anything?
No. Every project is free on my YouTube channel. The printable plans are there if you want the steps and tile counts on paper.
What size tiles do the plans use?
The wall plan is drawn for 300 × 600 mm tiles, with notes on changing the counts for 200 × 400 or square tiles.
Do I need a wet saw?
Not for a wall like this one. A manual cutter does the straight cuts, and a holesaw on a drill handles the pipes.
Do you run hands-on days?
A few times a year, for small groups around Melbourne. Ask with the form below and I’ll let you know when the next one is.